It was probably about 1969 that I first thought about building my own synthesiser, after hearing a BBC radio programme describing how they work. The project would bring together two of my favourite passions of the time. I had been a keen electronics enthusiast since early school days, and my love of music had just hit new heights.
Wendy (nee Walter) Carlos had just released "Switched On Bach". Full on classical peices performed on a Moog synthesiser, it sounded like nothing we'd heard before. It suddenly propelled electronic music from mostly obsure unmellodic beeps and whistles into the mainstream and made the synthesiser a household name. As a result the BBC aired a radio programme on them. It described how they were made up of a collection of modules: oscillators, amplifiers, filters, ramp generators and more. Things I'd made before in simpler form or knew how to make.
However the ones I could make just had manual knobs to control pitch and sound level. A synth needs them to be voltage controlled, and that was beyond me back then.
But it piqued my interest. I wanted to find out how to make one.
Moog
Robert Moog (pronounced to rhyme with rogue) made modular versions of many devices normally found in electronic music studios of the time and combined them into a single entity, that later became known as a synthesiser.
His modules were also voltage controlled, so the pitch of the oscilators, the cut off frequency of filters, and sound level could be controlled from external voltages. This meant that pitch, tone and sound level and could all be controlled automatically by another module or by a controller such as a keyboard. It also meant the several oscilators, and filters could change pitch in harmony.
It was extremely versatile yet semi-portable, more approachable and had the option of a keyboard. All of which made it popular with musicians.
Early Struggle
So I was keen to know how to make voltage controlled modules, but it wasn't easy.
I just couldn't find any literature on the subject. I scoured the school library and local bookshops for anything on the subject and kept my eyes open for magazine articles. Then tried Manchester Central Library and Manchester's technical bookshops, and later my college libraries but all proved fruitless.
The books on electronic music were too dated to include synthesisers, and the techniques I needed were too niche for the any of the electronics books. I learnt plenty of interesting stuff on (older) electronic music and the physics of music on the way, but it just wasn't what I really needed to make a synth. If the information was out there I didn't know how to access it.
So I had to shelved the idea for a while. I just had some fun with playing simpler electronic music circuits and began designing and building a more conventional electronic organ.
Modules & Terminology
VCO Voltage Controlled Oscillator. An oscillator with a frequency (or pitch) is set by an external voltage. Oscillators generates a continuous signals - heard as constant tone when connected to speaker.
VCA Voltage Controlled Attenuator or Amplifier. Controls the output level of an incoming signal, ie its loudness. Like a volume control operated by a voltage. Commonly used to chop the continuous tone of oscillators into individual notes.
VCF voltage controlled filter. Filters modify the timbre of an audio signal. Tone controls and Wah Wah pedals are examples.
Transient Generator or Trapezoid Generator
Converts a simple on/off signal, typically from the keyboard, into a slowly rising and falling voltage. They are used to control the other modules.
Combined with a VCA it is known as an envelope shaper which gives the sound a gentle start and slow decay to a note.
Keyboard A synthesiser keyboard produces no audio, just a control voltage for the oscillators and filters, and another to trigger the transient generators. Synthesisers don't necessarily have a keyboard.
Sample and hold 'remembers' a voltage and used to hold the pitch signal from a keyboard after the key is released.
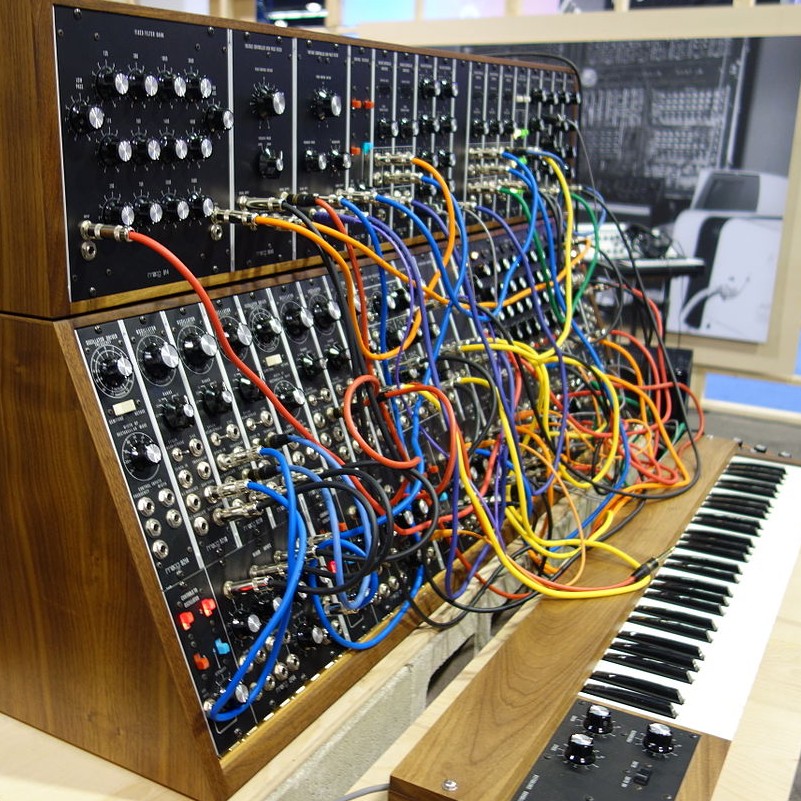
Patch Any means to connect one module to another. Moog used tradition jacks (sockets) and cords (leads). They produce a tangled mess in front of the console so later manufacturers tried to avoid them.
MIDI A digital interface standard for connecting electronic musical instruments together with their controllers and computers. An analogue synthesiser needs a MIDI to CV (control voltage) converter as well.
First Synthesiser
My first break came in 1972 when Wireless World published a circuit for an accurate VCO and I found a VCA IC advertised. So I began. I designed a transient generator to control the VCA, and a manual filter. I already had a noise generator and a modulator. I was only short of a VCF circuit (I had an idea but not a very good one). So the organ project became a synth project.
Later that year 'Sound on Sound' magazine printed an article giving a technical description of most synthesiser modules and included some snippets of Moog's circuits. Very useful, but still no VCF. They followed it with a thorough description of all the synthesisers available at the time and later some more usefully detailed synth reviews.
By summer of 73 I had the setup shown in the photograph. It was a very simple working synthesiser. Its range of sounds was very limited and it had no keyboard, but it was a start. It had:
- a square wave VCO
- a VCA
- a white noise generator
- a crude ring modulator
- a dual ramp trapezoid generator (my design)
- a variable band pass filter (my design)
Later I extended it to include:
- a new bigger case for more modules with not quite vertical panels
- a keyboard - with digital sample and hold
- a digitally controlled oscillator which made it playable.
In the pipeline I had:
- an unfinished analogue sequencer which would double as a programmable waveform generator
- a Sawtooth VCO - my own design but not working.
Encourage by fellow student Pete McNeish (aka Pete Shelly of the Buzzcocks) I tried to get it included in my degree project but the college weren't having it.
By 1976 it was playable but only the digital oscillator could be controlled by the keyboard. I needed an affordable but accutate digital to analogue converter for the VCO. It was still very limited.
I was frustrated with the slow progress not helped by a lack of lab equipment making fault finding difficult. I needed something to move things along.

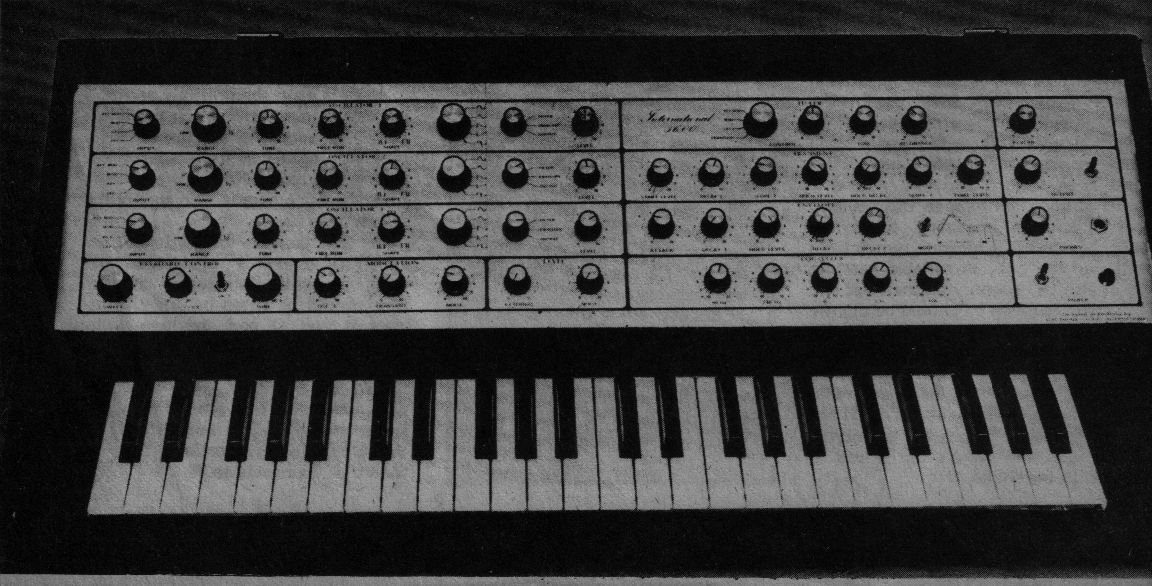
Finally between 73 and 75 three electronic magazines published complete synthesiser designs. The first had no VCF and generally didn't impress me, but the second in Wireless World I really liked and finally a good VCF design. The third in Electronics Today International (ETI) also looked good (with another VCF).
My plan was to add the best bits of each to my own synth, but something in ETI was about to change my mind.